Support
Get up and running
01 — Getting Started
First launch
The first time you open Exigu, a short five-step walkthrough mirrors the whole workflow before you touch anything: Welcome → Build it once → Print smart sheets → Scan to score → See the results. It's skippable, and each step shows a real piece of the app (a question card, the actual answer sheet, the scan frame, a results card) rather than an abstract icon.
- 1. Welcome
- 2. Build it once — create an exam and its questions
- 3. Print smart sheets — download the QR-coded answer sheet
- 4. Scan to score — camera reads the sheet and grades it
- 5. See the results — averages, pass rate, roster
02 — Build Your First Exam
Exam, then questions, then examinees
From the Exams tab, tap the + to create an exam: title, subject, passing score, and number of choices per question (2–4, default 4). Add your questions and answer key next, then add examinees one by one or import a CSV from the Examinee tab.
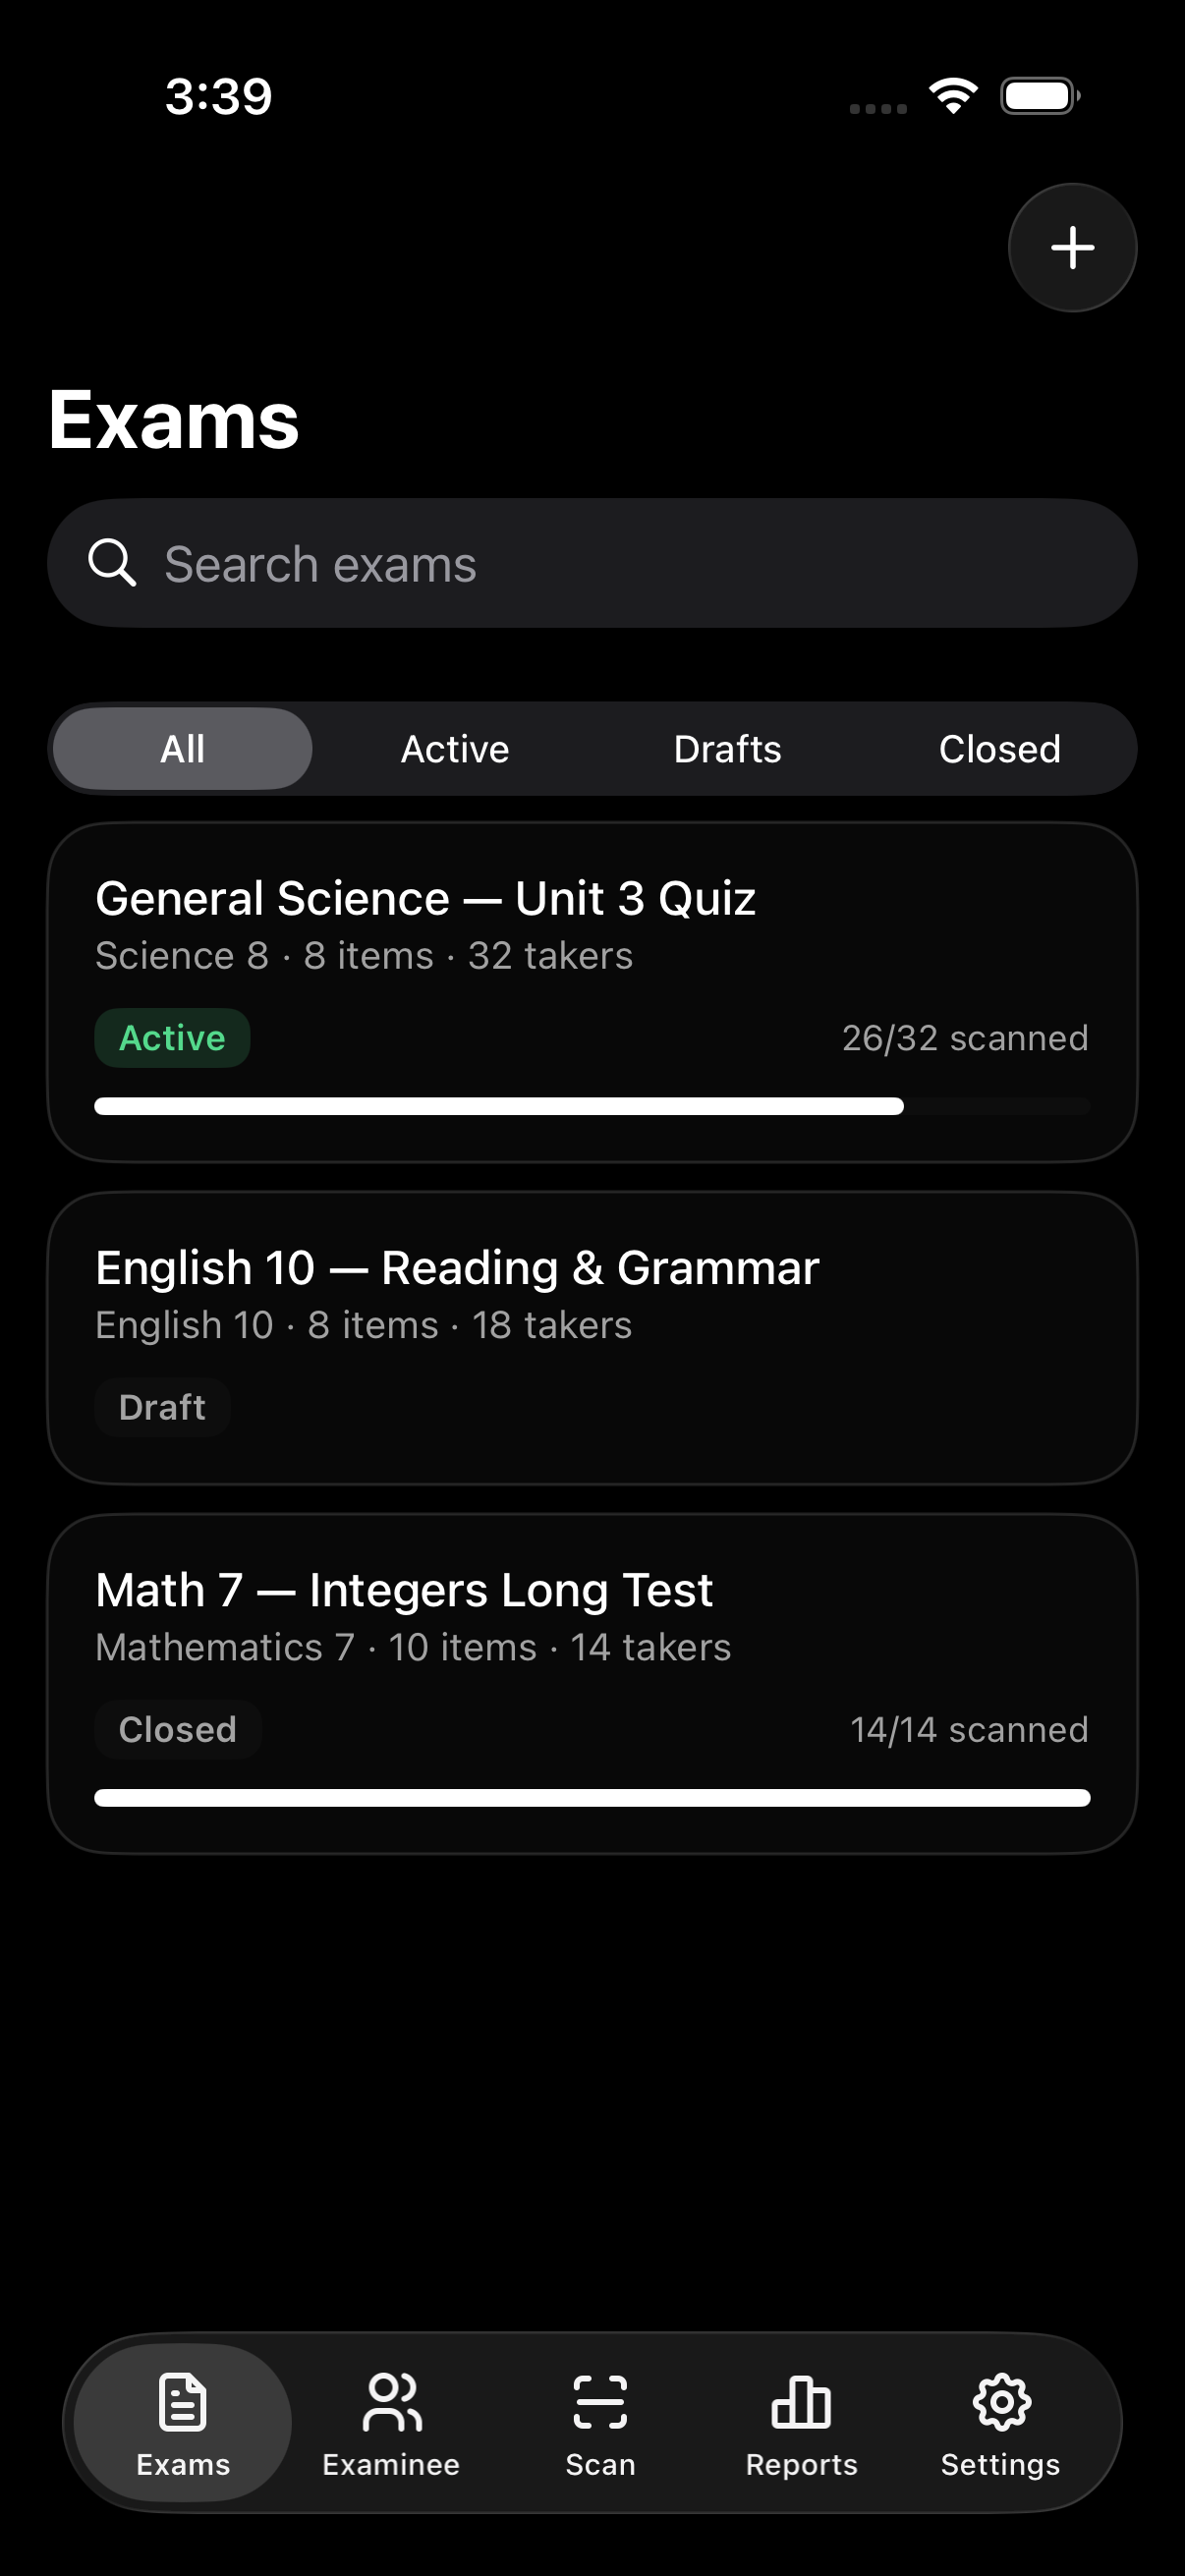
Exams
Filter by All / Active / Drafts / Closed.
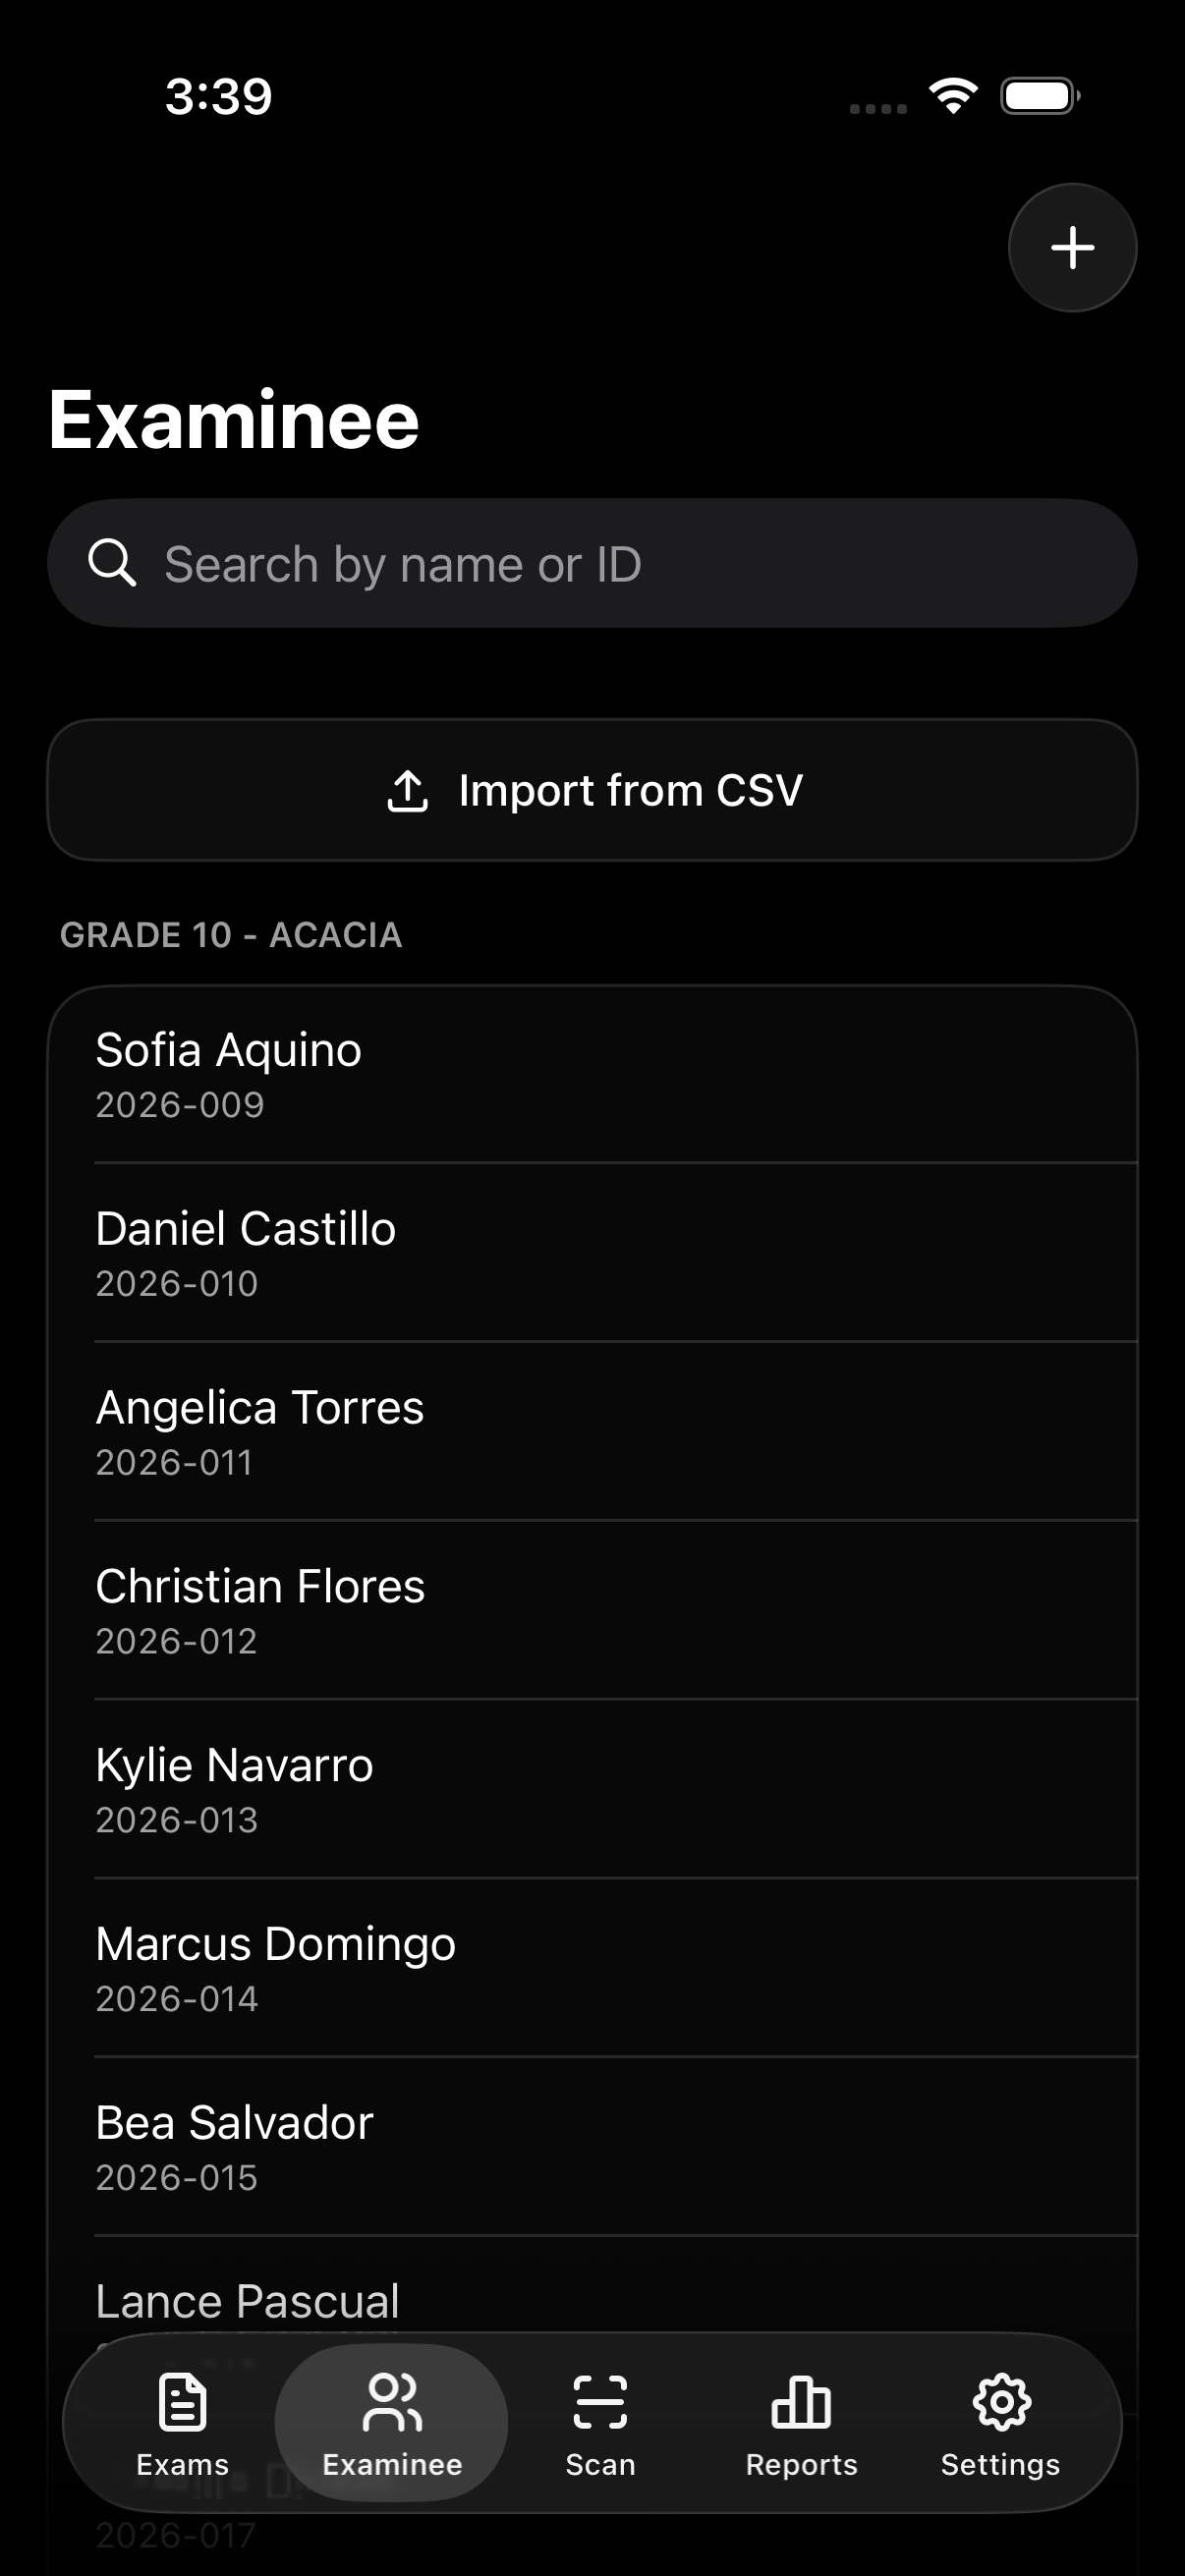
Examinee
Add one by one, or import a whole section as CSV.
An exam moves through Draft → Active → Closed. Draft is fully editable; Active locks editing and is the only state you can scan against (it needs at least one question and one assigned examinee first); Closed is read-only and kept on record.
03 — Download & Print Answer Sheets
PDF first, then whatever printer you already have
Exigu doesn't pair with printer hardware directly — from an exam's Download screen you generate three print-ready A4 PDFs (Questionnaire, Answer Sheet, Answer Key), each carrying a QR code and four corner alignment markers, then print them from any printer using whatever's already set up on your device.
To download sheets
- Open the exam → Download
- Choose paper size, number of versions, and whether to randomize choices / include examinee names
- Download the PDF, then print it from your device's usual print path
04 — Scanning & Manual Review
Let the flagged items come to you
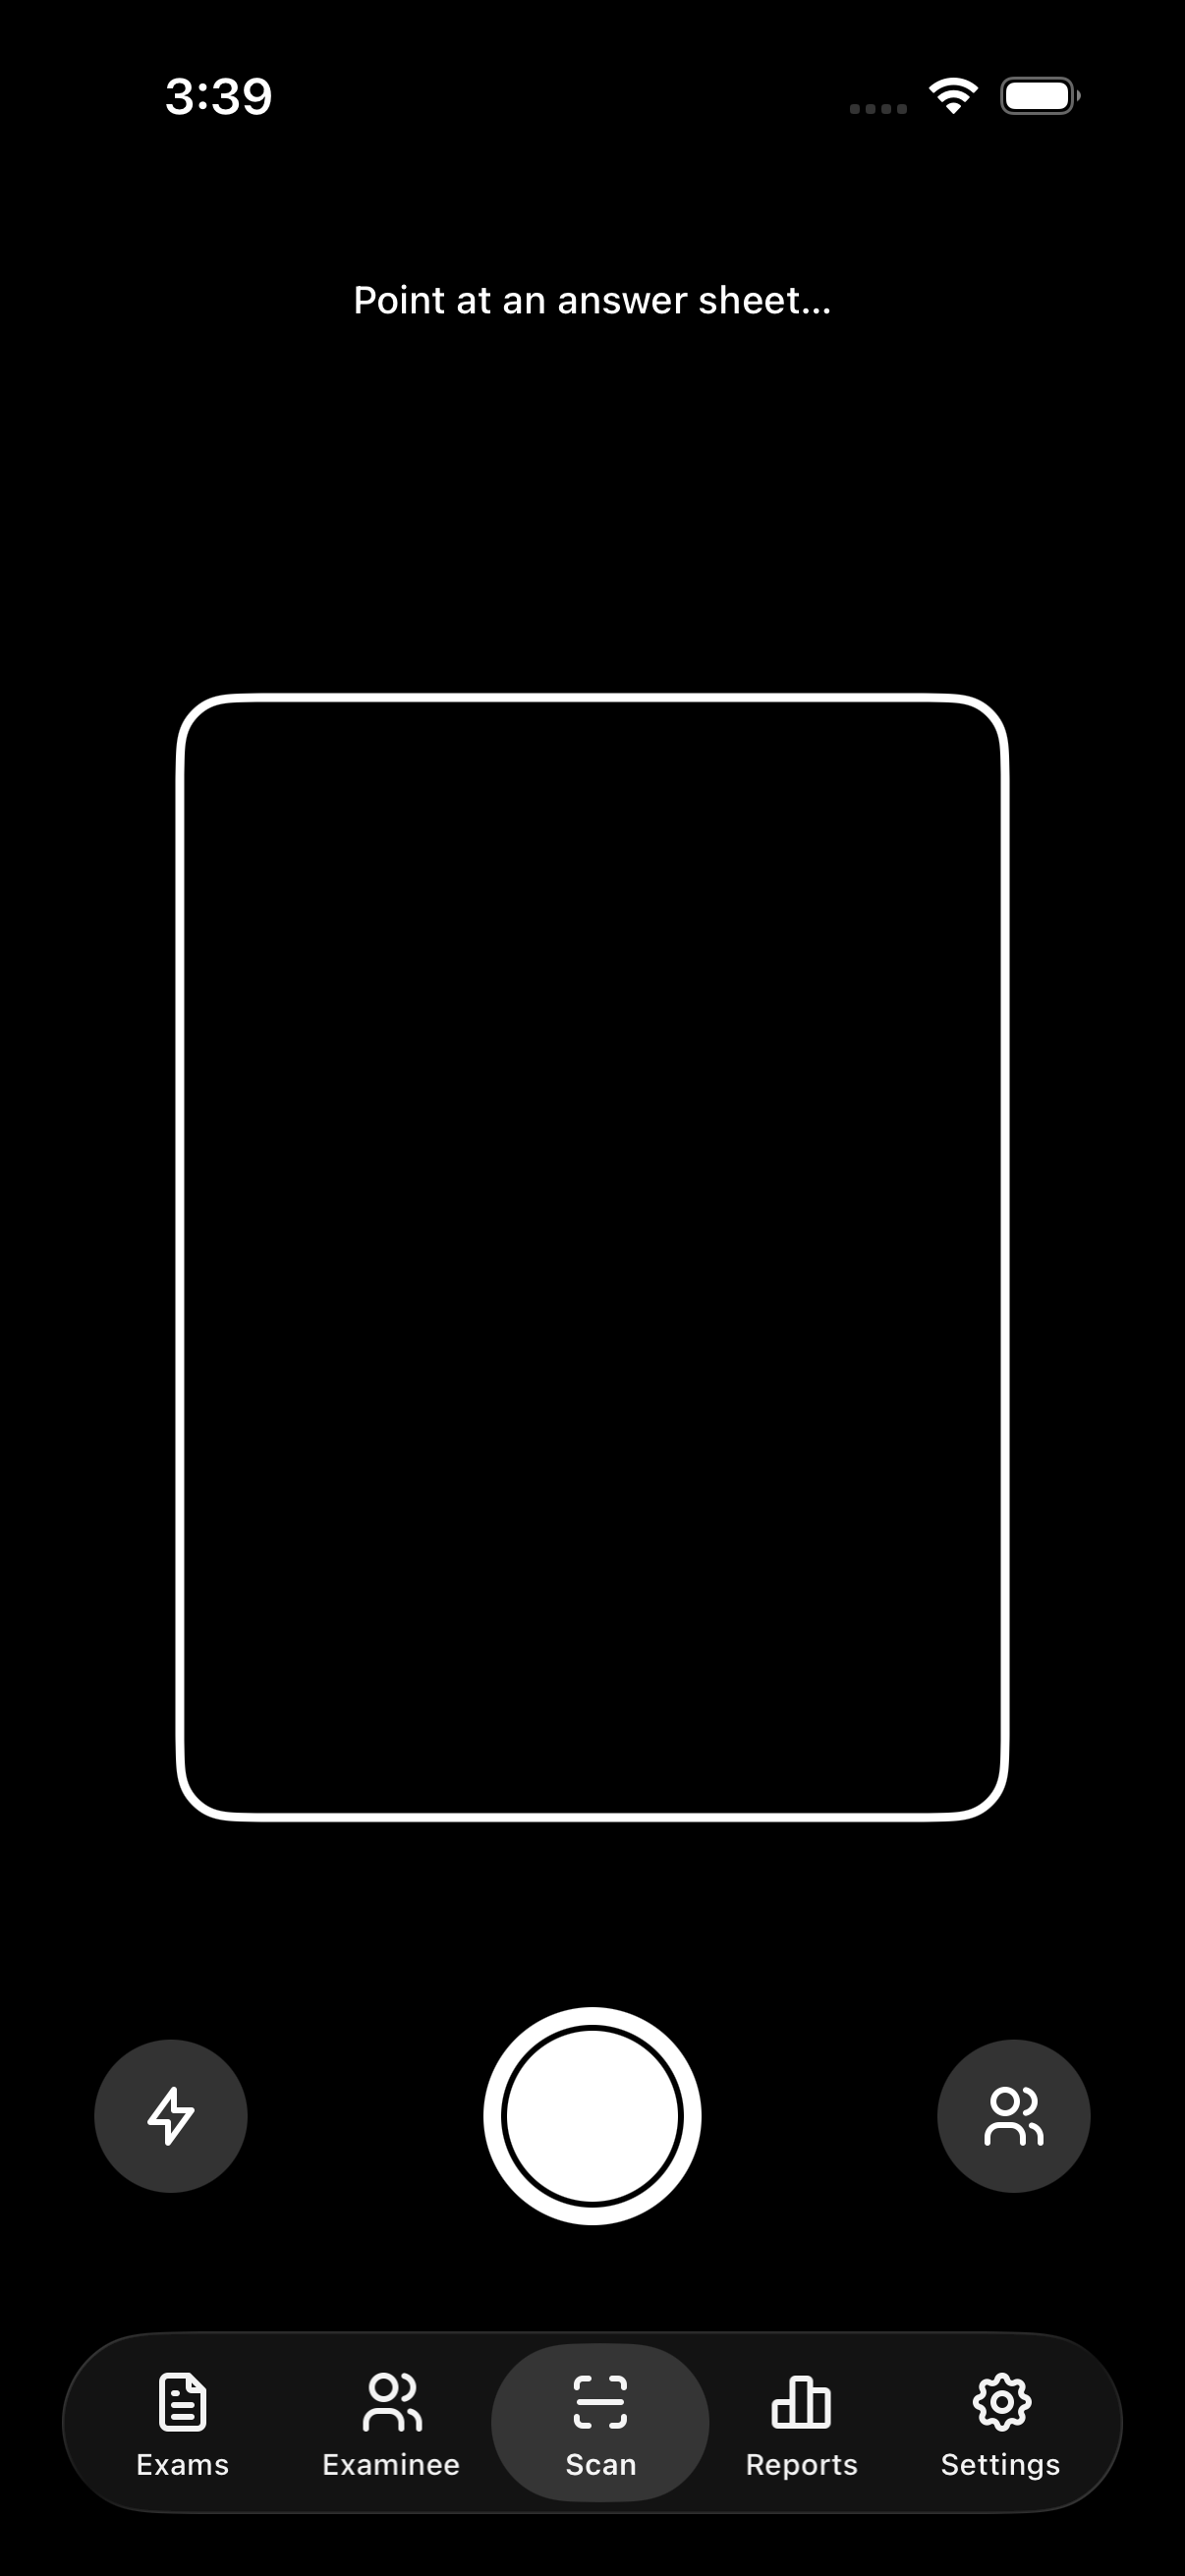
Open the Scan tab and hold a completed sheet in frame — the corner brackets turn from white to the success accent once it locks on. Exigu reads the QR code to match the sheet to its exam and version, then reads the shaded bubbles.
Manual Review flag types
- Unclear — the mark's confidence is below your threshold
- Multiple — more than one bubble shaded for the item
- Blank — no bubble detected for the item
Tap A/B/C/D (or Blank) to resolve each flagged item. Finalize is blocked until every flag is resolved — a score never includes an unresolved guess.
The confidence threshold that decides what counts as "unclear" is adjustable in Settings — raise it to send more borderline marks to Manual Review, or lower it to trust the scanner more.
05 — Reports
Everything downloadable as PDF or CSV
The Reports tab covers an exam's summary (average, pass rate, highest, lowest) and a roster filterable by All / Passed / Failed / Review / Pending. From there you can download:
- Exam summary
- Full examinee score list
- Passed list & failed list
- Pending-scan list & needs-review list
- Item analysis
06 — Remove Ads
One purchase, every device
Remove Ads is a one-time, non-consumable purchase via Google Play (Android) or the App Store (iOS), pinned at the top of Settings.
- Purchase: Settings → tap Remove Ads → confirm via Play / App Store
- Restore on a new device: Settings → Restore Purchase
- Refund: handled by Google Play or Apple (Exigu doesn't process payments)
- Once purchased, the ad disappears and the app runs fully offline instantly — every other feature was already unlocked
07 — Backup & Data
Your data, your control
Settings → Data → Export saves a backup file containing your exams, questions, examinees, results, and settings. Import restores from a backup file. Exigu doesn't sync to any cloud on its own, so this file is the only copy that exists outside your device.
Scan images captured during grading can be kept or auto-deleted — the retention behavior is configurable under Settings → Scanner.
Still stuck?
Email us at exigu.support@juanlobby.com. Please include your device model, OS version, app version (Settings → About), and a short description of what you're trying to do.